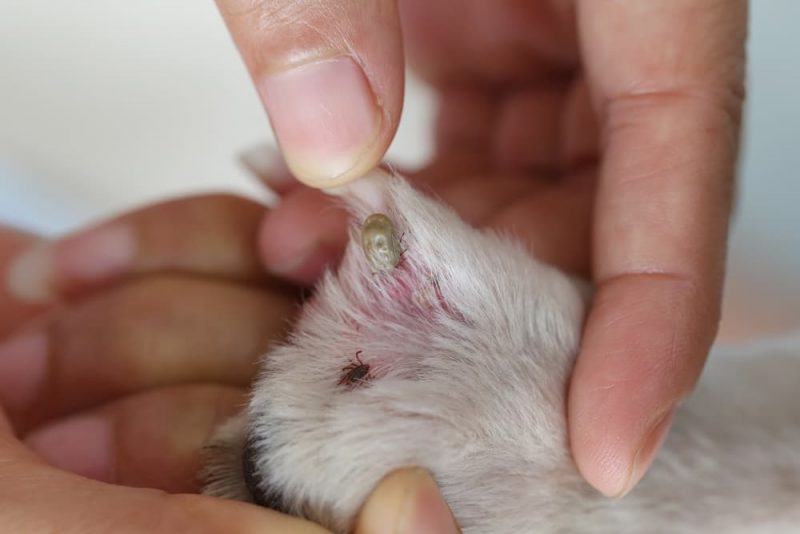
Ticks are a common problem for dogs and their owners, especially during the warmer months when these parasites are most active. Not only are ticks unsightly, but they can also transmit dangerous diseases to your furry friend. That’s why it’s important to know how to properly remove a tick if you find one on your dog.
In this article, we’ll explore the five steps to removing a tick from your dog safely and effectively. We’ll cover the supplies you’ll need, the proper technique for removing a tick, and the steps you should take after removing the tick to ensure your dog stays healthy.
Chapter 1: Supplies You’ll Need
Before you begin removing a tick from your dog, it’s important to gather the supplies you’ll need. Here’s what you’ll need:
- A pair of fine-tipped tweezers
- Rubbing alcohol
- A container or bag for disposal
- Gloves (optional)
Chapter 2: Step 1: Prep Your Dog
The first step in removing a tick from your dog is to prepare your furry friend. Put on a pair of gloves, if desired, and use your hands to gently restrain your dog. If your dog is squirmy or uncooperative, you may need to enlist the help of another person to hold them still.
Next, use a pair of scissors or clippers to trim the fur around the tick. This will help you get a better view of the tick and prevent any hair from getting in the way when you try to remove it.
Chapter 3: Step 2: Grasp the Tick
Once you have prepared your dog, it’s time to grasp the tick. Use a pair of fine-tipped tweezers to grasp the tick as close to the skin as possible. Be sure to avoid squeezing the tick too hard, as this can cause it to release more saliva into your dog’s bloodstream, increasing the risk of disease transmission.
Chapter 4: Step 3: Pull the Tick Out
Once you have a firm grasp on the tick, pull it straight out of your dog’s skin with a steady, even pressure. Avoid twisting or jerking the tick, as this can cause the mouthparts to break off and remain embedded in your dog’s skin.
Chapter 5: Step 4: Clean the Area
After removing the tick, clean the area with rubbing alcohol or soap and water. This will help to prevent infection and reduce the risk of disease transmission. Be sure to also clean your tweezers with rubbing alcohol or soap and water.
Chapter 6: Step 5: Dispose of the Tick
Once you have removed the tick and cleaned the area, it’s important to dispose of the tick properly. Put the tick in a container or bag and seal it tightly. You can also flush the tick down the toilet, but be sure to double-check that it’s dead first.
Chapter 7: After Removing the Tick
After removing the tick, it’s important to keep an eye on your dog for any signs of illness or infection. If your dog develops a fever, loss of appetite, or other symptoms, contact your veterinarian right away.
It’s also a good idea to continue checking your dog for ticks regularly, especially during the warmer months. This can help you catch any ticks early and prevent disease transmission.
Conclusion
Removing a tick from your dog can be a daunting task, but with the right supplies and technique, it can be done safely and effectively. By following these five steps and taking precautions to prevent tick bites, you can help keep your furry friend healthy and happy.


